Are you looking for an easy way to create an online store? WordPress is a beginner-friendly Content Management System (CMS) that enables you to set up an eCommerce site. But, to get started, you’ll need to install a dedicated plugin like WooCommerce.
WooCommerce lets you build an online shop, complete with payment methods and shipping options. It also comes with a suite of blocks that you can use to customize your product catalog, checkout and cart pages, as well as other sections of your store. This way, you can create a fully functional eCommerce site with a unique look.
In this post, we’ll talk about the benefits of using WordPress for eCommerce. Then, we’ll show you how to create an online store with the WooCommerce plugin. Let’s dive right in!
Why Use WordPress for eCommerce
WordPress is open-source software. It has a large team of developers who are constantly working to improve and extend its features. In fact, you can use WordPress to build any type of website, including online stores.
WordPress is also very customizable. Its Block Editor lets you edit every page on your website, using blocks for elements like text, images, headers, forms, and more.
If you use a block-based theme, you’ll also have access to the Site Editor. This gives you more control over the design of your online store, enabling you to customize templates like your product page, homepage, and more.
All of the above can be achieved without spending money. That’s because the WordPress software is free, and so is the WooCommerce plugin which you need to install to build your store.
Additionally, there are thousands of free themes to choose from, many of which are made specifically for eCommerce sites. You’ll also find plenty of plugins that can help you add more functionality to your website.
When you create an online store with WordPress, you’ll just need to pay for web hosting and a domain name to get started. Many reputable web hosts like AblePAge offer secure WordPress hosting that also includes free domain registration:

Therefore, WordPress can be a cost-effective solution if you’re looking to build an online shop.
It’s also scalable. As your business grows, you can upgrade to a more advanced hosting plan to keep up with increasing web traffic.
How to Create an Online Store in WordPress (In 5 Steps)
Now, let’s look at how to create an online store in WordPress, using the WooCommerce plugin.
For this tutorial, we’ll assume you already have a basic WordPress website set up. If not, you can sign up for a WordPress hosting plan at AblePage, and you’ll get the software installed for you.
Step 1: Install WooCommerce and Choose an E-Commerce Theme
First, you’ll want to install WooCommerce. You can do this straight from your WordPress dashboard.
Go to Plugins > Add New Plugin and look for WooCommerce. Then, click on Install Now, followed by Activate:

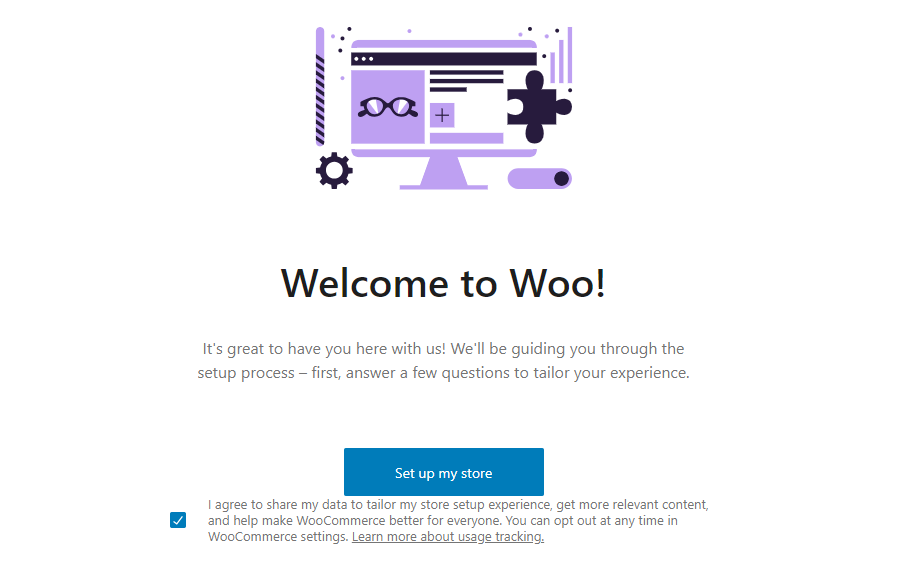
WooCommerce will walk you through a setup guide, where you’ll need to enter some basic information about your business, including its registered address and the type of products you sell:
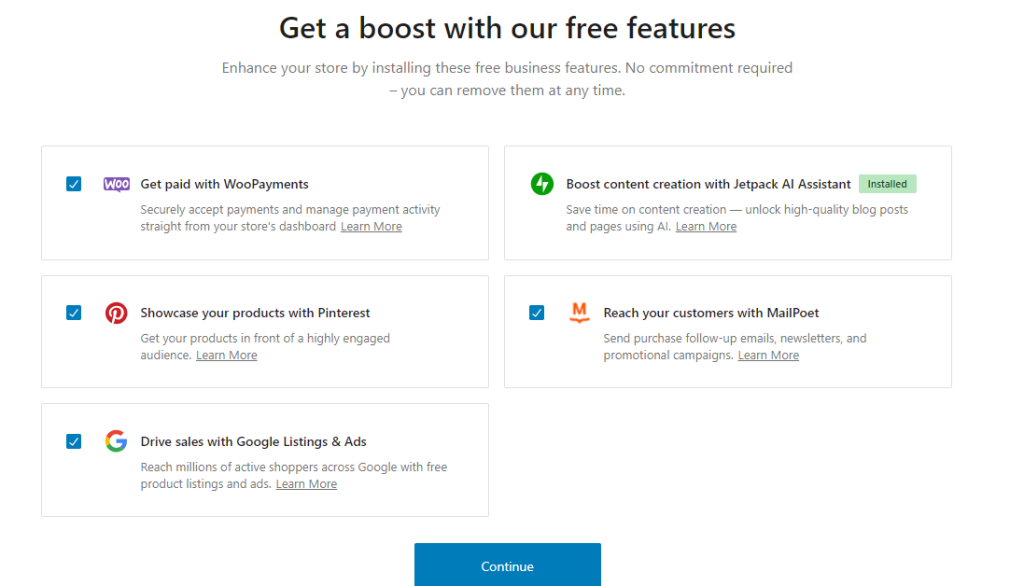
It will also ask you to select the features you want to add to your store, allowing you to choose from several extensions during the configuration process. These options include WooPayments for online transactions and MailPoet for marketing campaigns:
After you complete the setup, you’ll be redirected to the WordPress dashboard. You can now choose an e-commerce theme for your store.
Navigate to Appearance > Themes > Add New Theme. To look for themes that were specifically built for online stores, click on Feature Filter and select E-commerce:
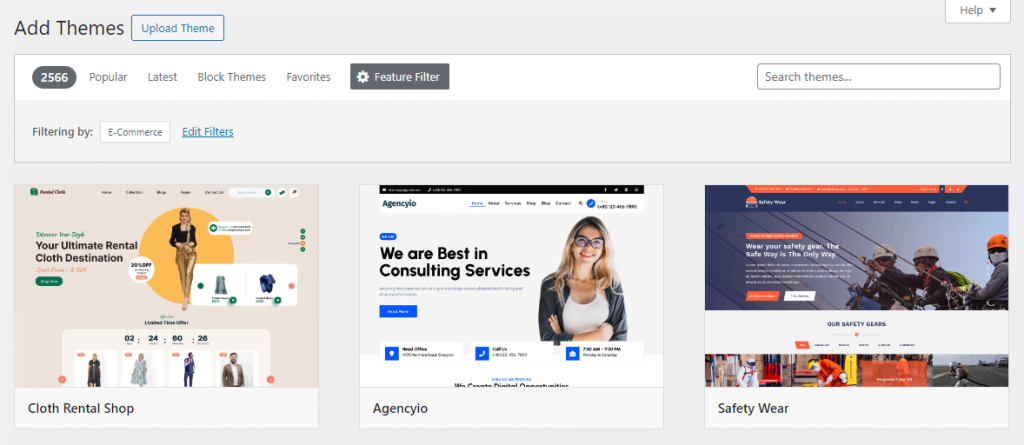
Once you find a theme you like, click on Install and Activate.
It’s as simple as that! Now that you have WooCommerce and a suitable theme installed, you can start adding products to your store.
Step 2: Upload Your Products
Fortunately, adding a new product is easy in WooCommerce, but you’ll need to repeat the process multiple times if you have a lot of items.
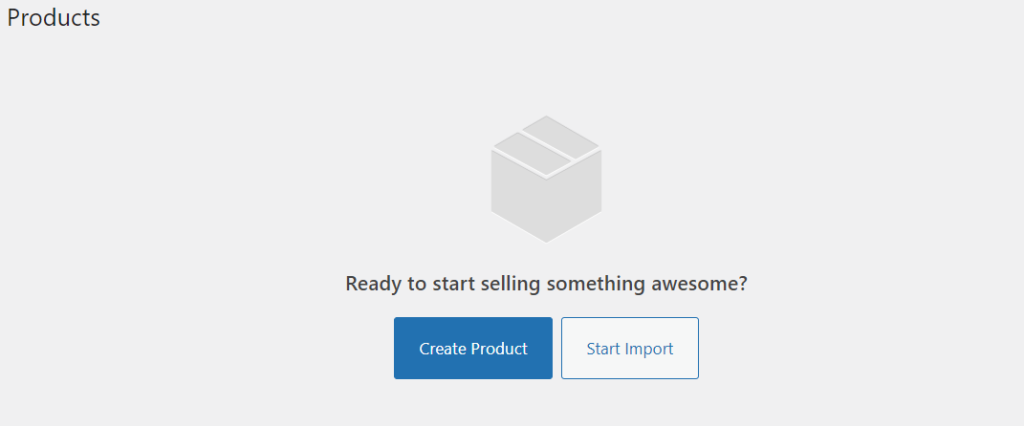
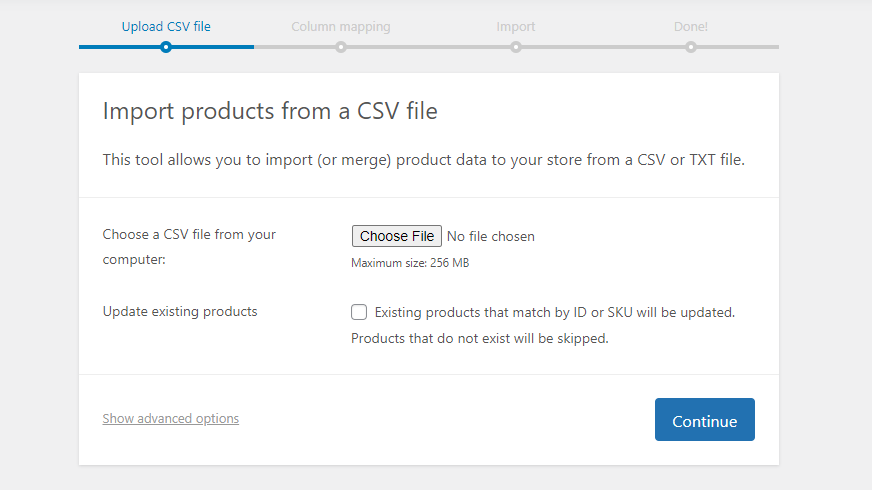
Alternatively, if you have a CSV file with all your product details, you can upload it to WooCommerce and all your items will be automatically added to your store. Simply go to Products > All Products and select Start Import:
Choose your CSV file, select the product fields you want to import, and click to run the importer. WooCommerce will let you know when the process is complete.
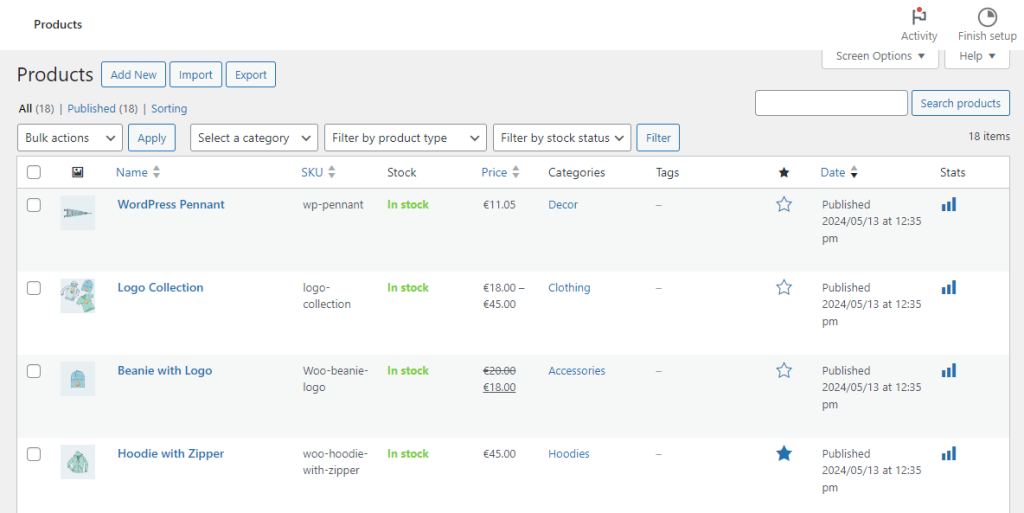
You can return to the All Products page to see all of your imported items:
If you don’t have a CSV file, you’ll need to create your products manually instead. To do this, go to Products > Add New. Here, you can start entering details about your product, including its name and description:
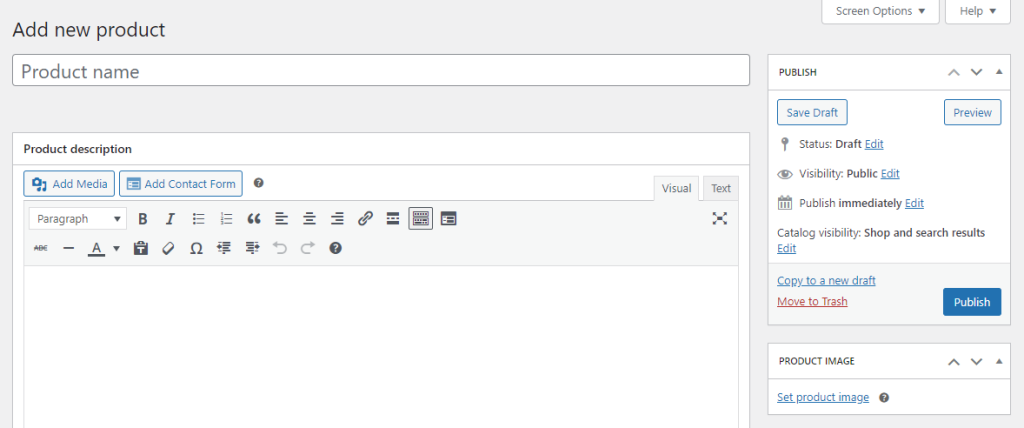
On the right, you’ll also see options to upload a product image, create a product gallery, and assign a category.
If you scroll down to the Product Data box, you can enter a price, add the product’s dimensions, select its stock status, and more:
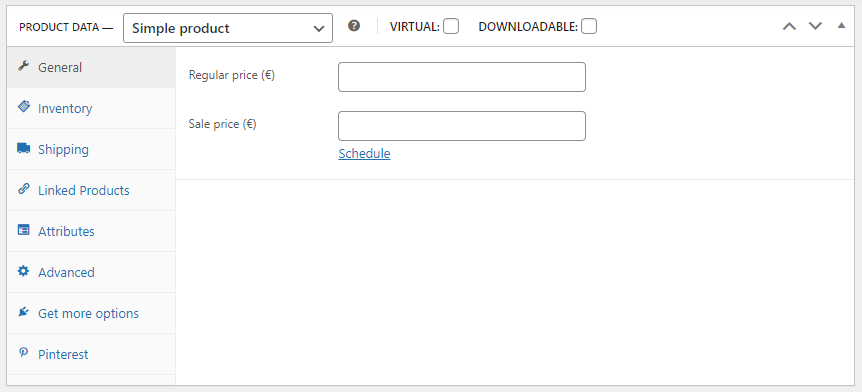
When you’re ready, go ahead and hit Publish. Your new product should now be live on your website!
Note that you can return to the All Products page, find your product, and edit its details at any time.
Step 3: Set Up Payment Methods
Now, let’s set up the payment methods. Go to WooCommerce > Settings and select the Payments tab. Here, you can enable your preferences:
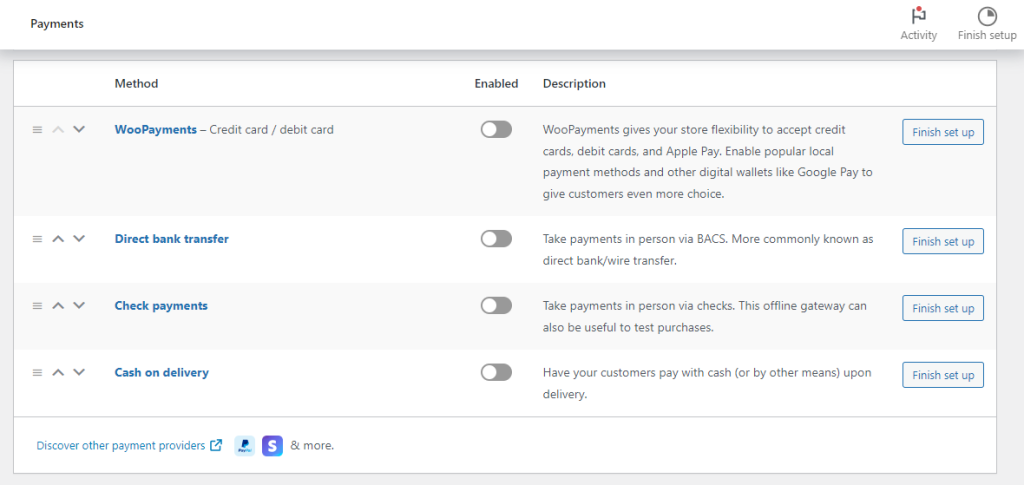
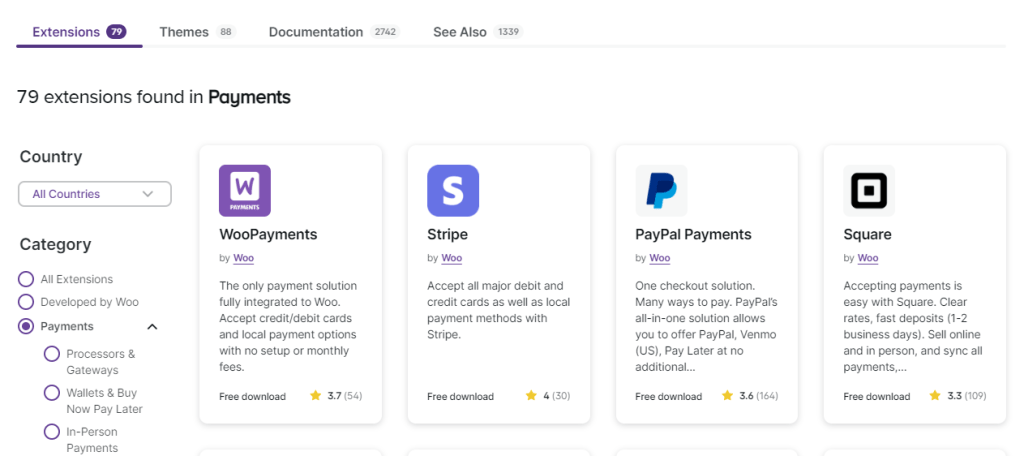
If you select WooPayments (credit card / debit card transactions), you’ll need to verify your business details. You can also visit the WooCommerce extensions page to download add-ons for Stripe, PayPal Payments, and more:
It’s a good idea to enable all popular payment methods, including PayPal and Google Pay. This will create a more convenient shopping experience for users, which can lead to more conversions.
Step 4: List Your Products
When you install an e-commerce theme like Storefront, it will automatically create a shop page for your site. Here, users will be able to browse through your product catalog:
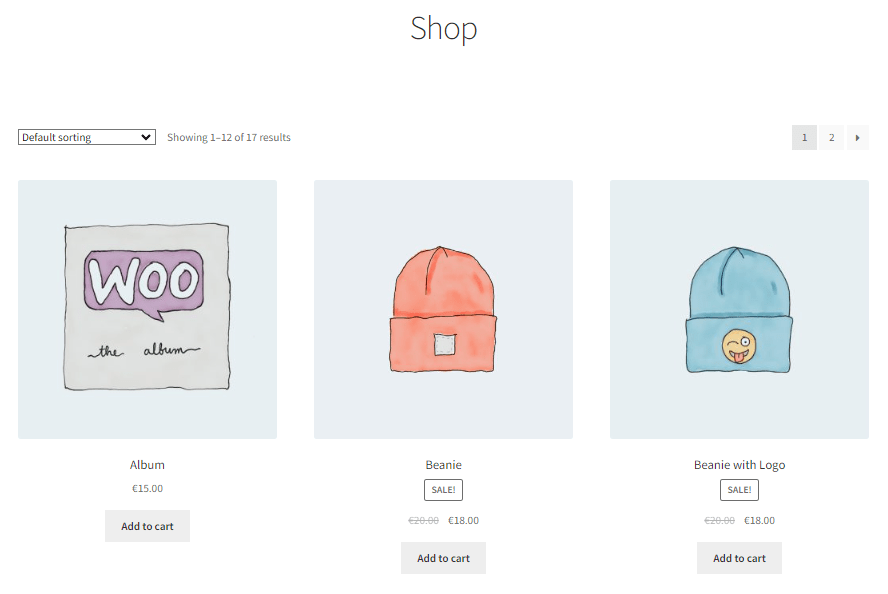
Any products that you upload and publish will be listed on this page. However, WordPress enables you to customize the layout of your catalog.
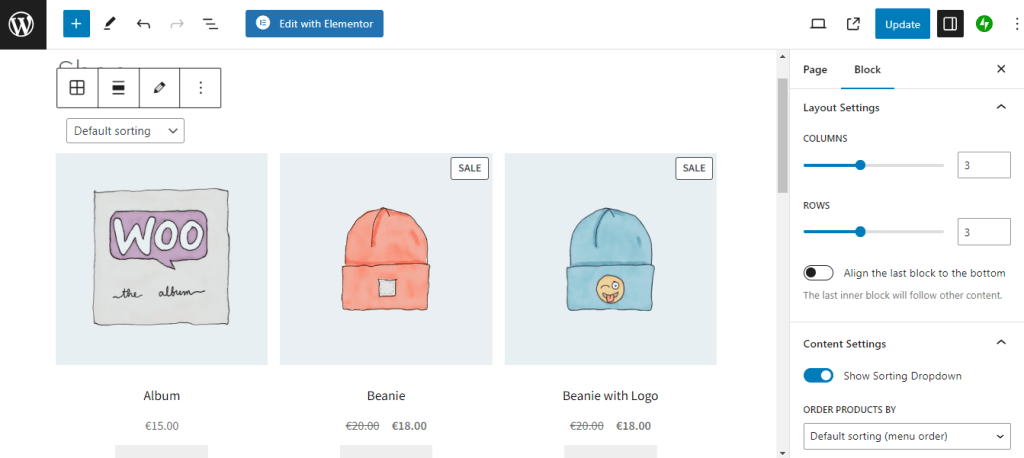
Go to Pages > All Pages, hover over the Shop page, and select the Edit option. This will open the page in the Block Editor.
If you select the existing block, you’ll see a collection of settings on the right. For example, you can choose the number of columns and rows, and order products by popularity, rating, price, etc:
You can also add new elements to the page. If you click on the plus sign, you’ll find lots of WooCommerce blocks that you can use. For instance, you might add a product search function and filters:
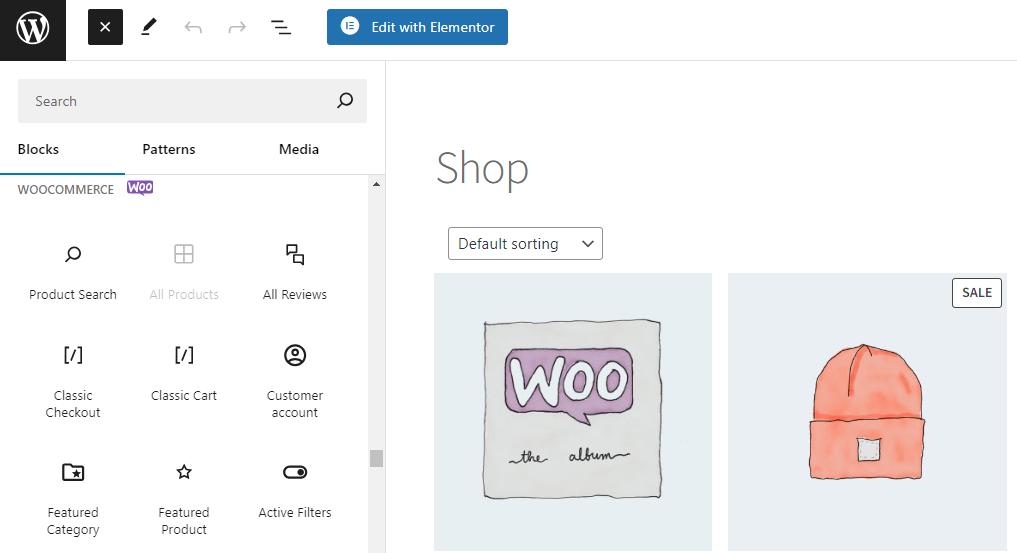
You can also add new elements to the page. If you click on the plus sign, you’ll find lots of WooCommerce blocks that you can use. For instance, you might add a product search function and filters:
Step 5: Configure Your Tax and Shipping Rates
This last step might be the least exciting part of setting up an online store, but thankfully, WooCommerce makes it easy.
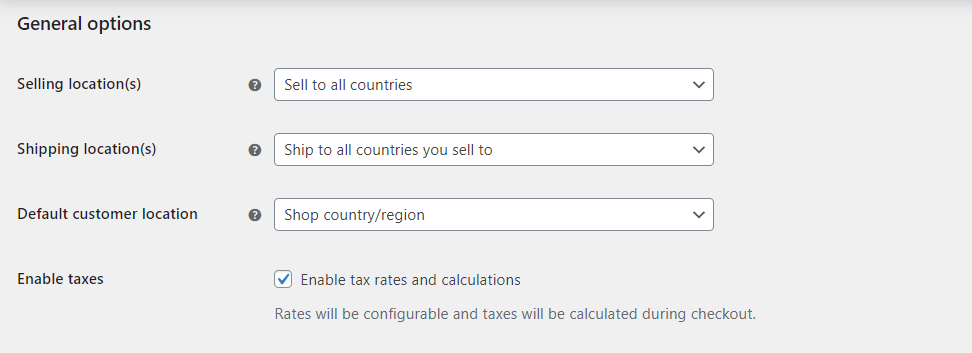
To set up taxes, go to WooCommerce > Settings > General and select the box for Enable taxes:
Click on Save changes and a new tab called Tax will appear. Here, you can choose whether to display prices including or excluding tax, how to calculate taxes, and more:
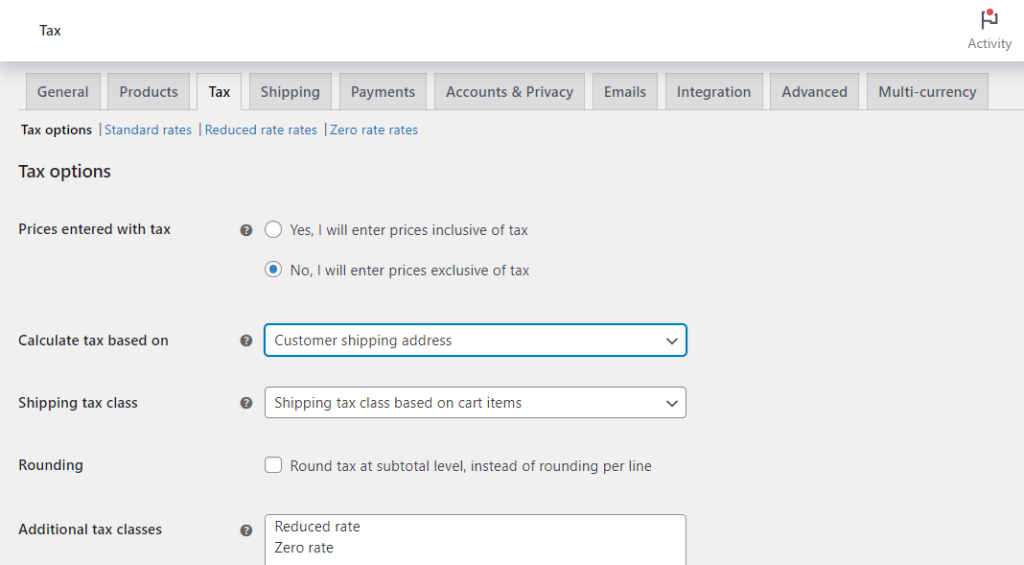
By default, WooCommerce creates three tax classes for you: Standard, Reduced, and Zero rate. You can click on the corresponding item to configure these rates. For example, if you’re based in the US (or you cater to a US audience), you’ll likely need to set up a standard tax rate for each state.
Finally, you can go to the Shipping tab to configure your shipping zones and methods:
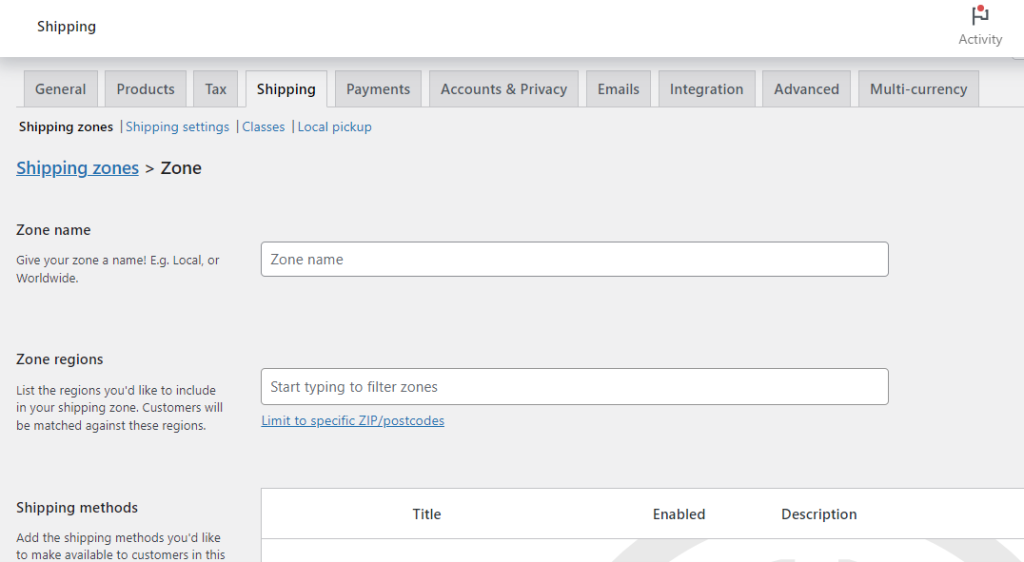
You also have the option to enable local pickups, add a shipping calculator on the cart page, and more. Remember to save your changes when you’re ready.
Now your store is good to go! We recommend that you make a test purchase to ensure that everything’s working properly.
Conclusion
WordPress is a free and flexible platform that makes it easy to create an online store. Plus, it gives you a lot of customization options, and you can use an eCommerce plugin like WooCommerce to add products to your site and start selling them.
To recap, here’s how to create an online store in WordPress:
- Install WooCommerce and choose an eCommerce theme.
- Upload your products.
- Set up payment methods.
- List your products on the shop page and homepage.
- Configure your tax and shipping rates.
A successful online store needs a reliable web host. At AblePage, we offer fast and secure WordPress hosting to help you grow your business. Check out our plans today!